SVG Animations
SVG Animation is the core visualization component of inSCADA. Each animation consists of an SVG file and creates real-time SCADA screens by binding to variable values.
![]()
Screen Development Process
Section titled “Screen Development Process”Creating a SCADA screen consists of three steps:
1. SVG Design (External Editor)
Section titled “1. SVG Design (External Editor)”The SVG screen is designed using any SVG editor. Inkscape (free, open source) is the recommended editor.
During design:
- Freely create the visual layout of the screen — device symbols, text fields, buttons, indicators, charts
- You don’t need to worry about SVG IDs — inSCADA automatically scans the entire SVG tree and makes every object selectable
- Use standard SVG elements:
<rect>,<circle>,<text>,<path>,<g>,<image> - You can create designs as complex as you like — layers, groups, gradients, filters
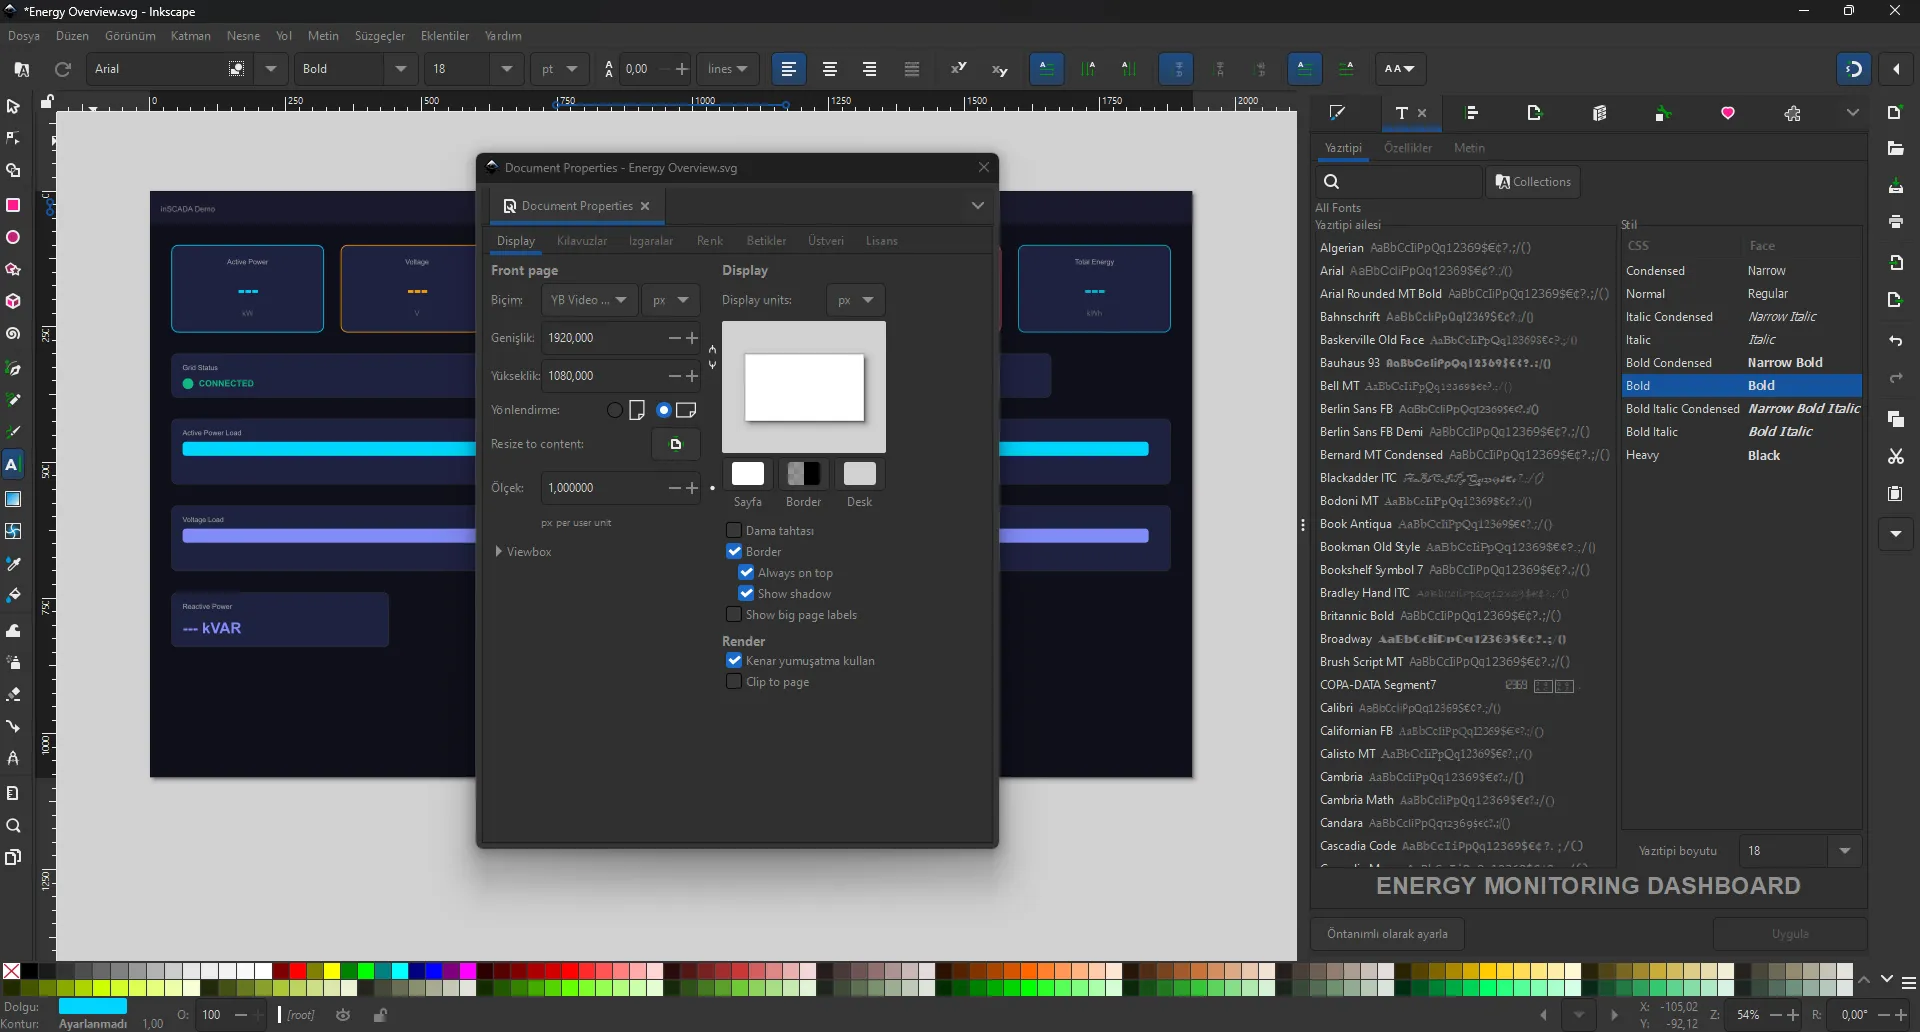
Document Properties (Page Settings)
Section titled “Document Properties (Page Settings)”In Inkscape, set the page size under File → Document Properties:
| Setting | Recommended Value | Description |
|---|---|---|
| Width | 1920 px | Full HD screen width |
| Height | 1080 px | Full HD screen height |
| Unit | px | Pixel unit |
| Scale | 1.0 | 1:1 scale |
| Orientation | Landscape | SCADA screens are typically landscape |
2. SVG Upload (Animation Dev)
Section titled “2. SVG Upload (Animation Dev)”Upload the designed SVG file to the platform:
Menu: Development → Animations → Animation Dev
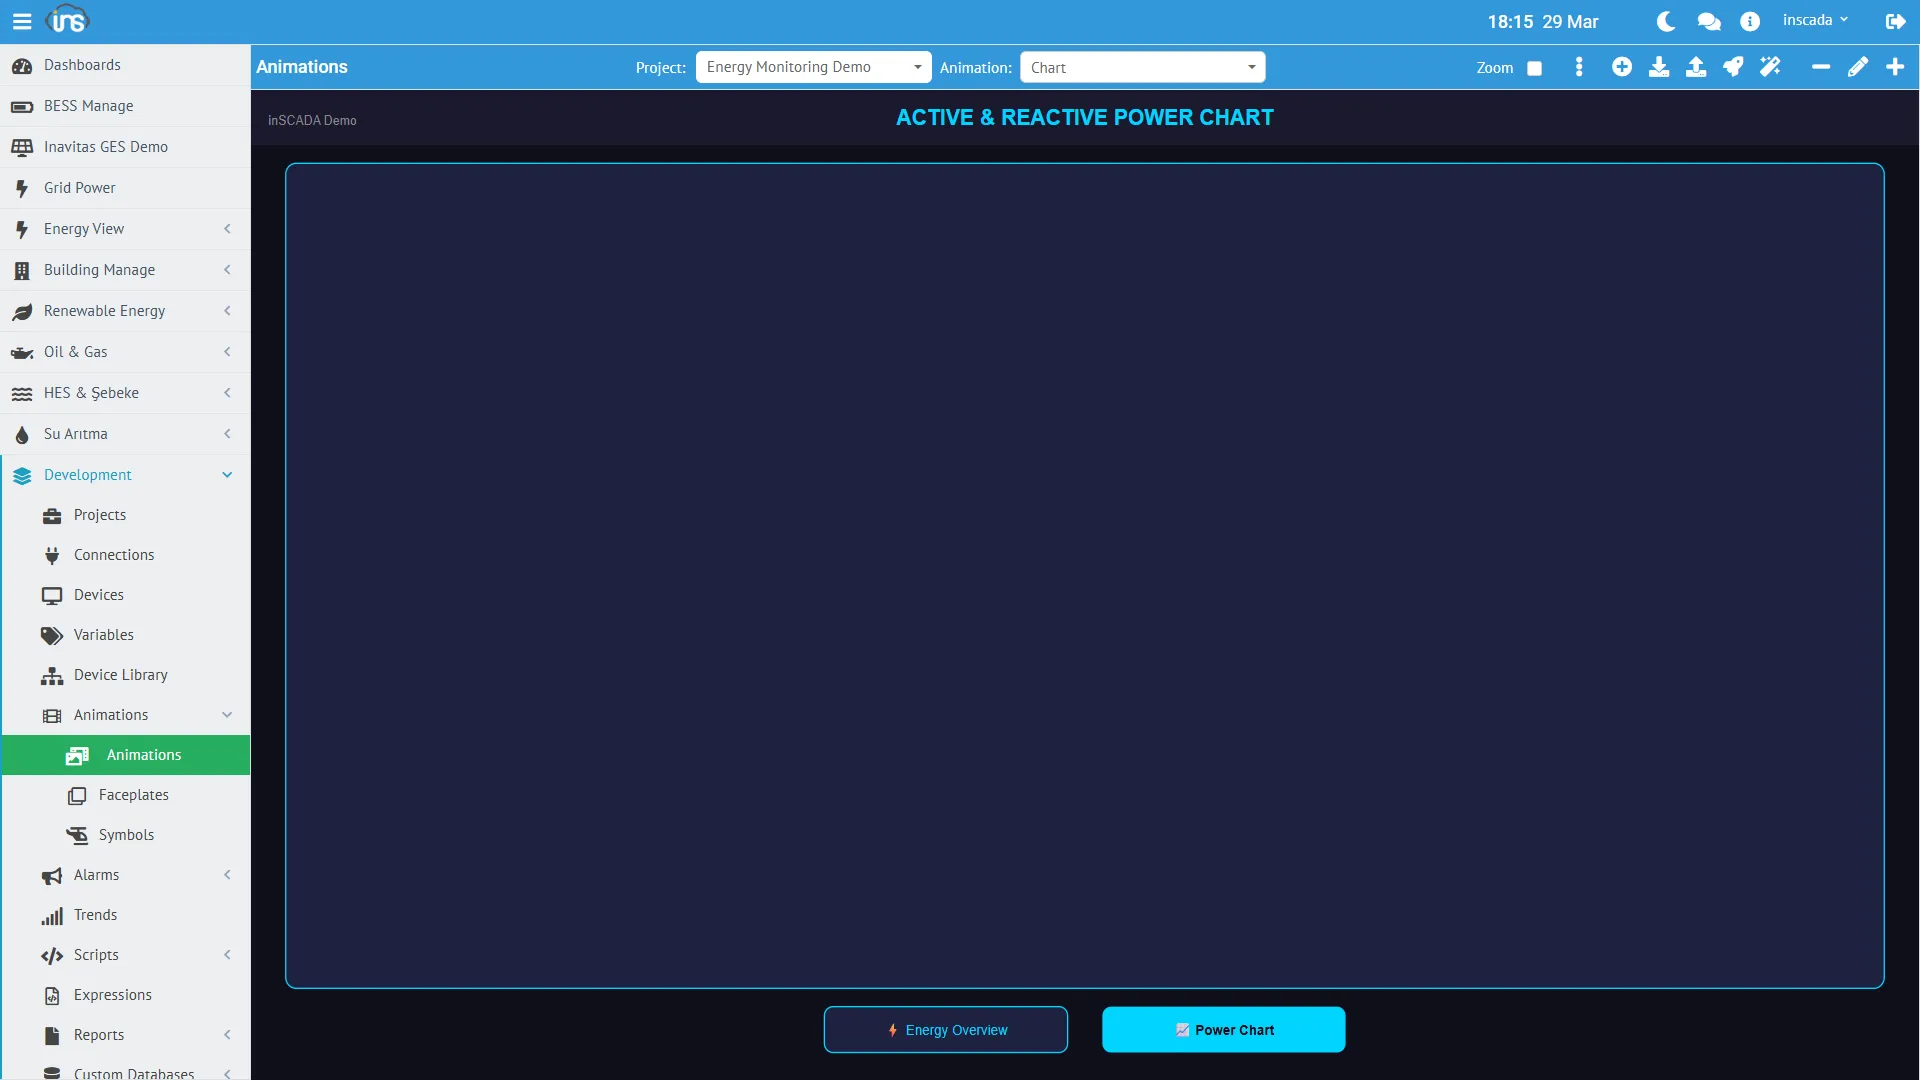
Create a new animation or update the SVG content of an existing animation. Once the SVG file is uploaded, it is visualized on the screen.
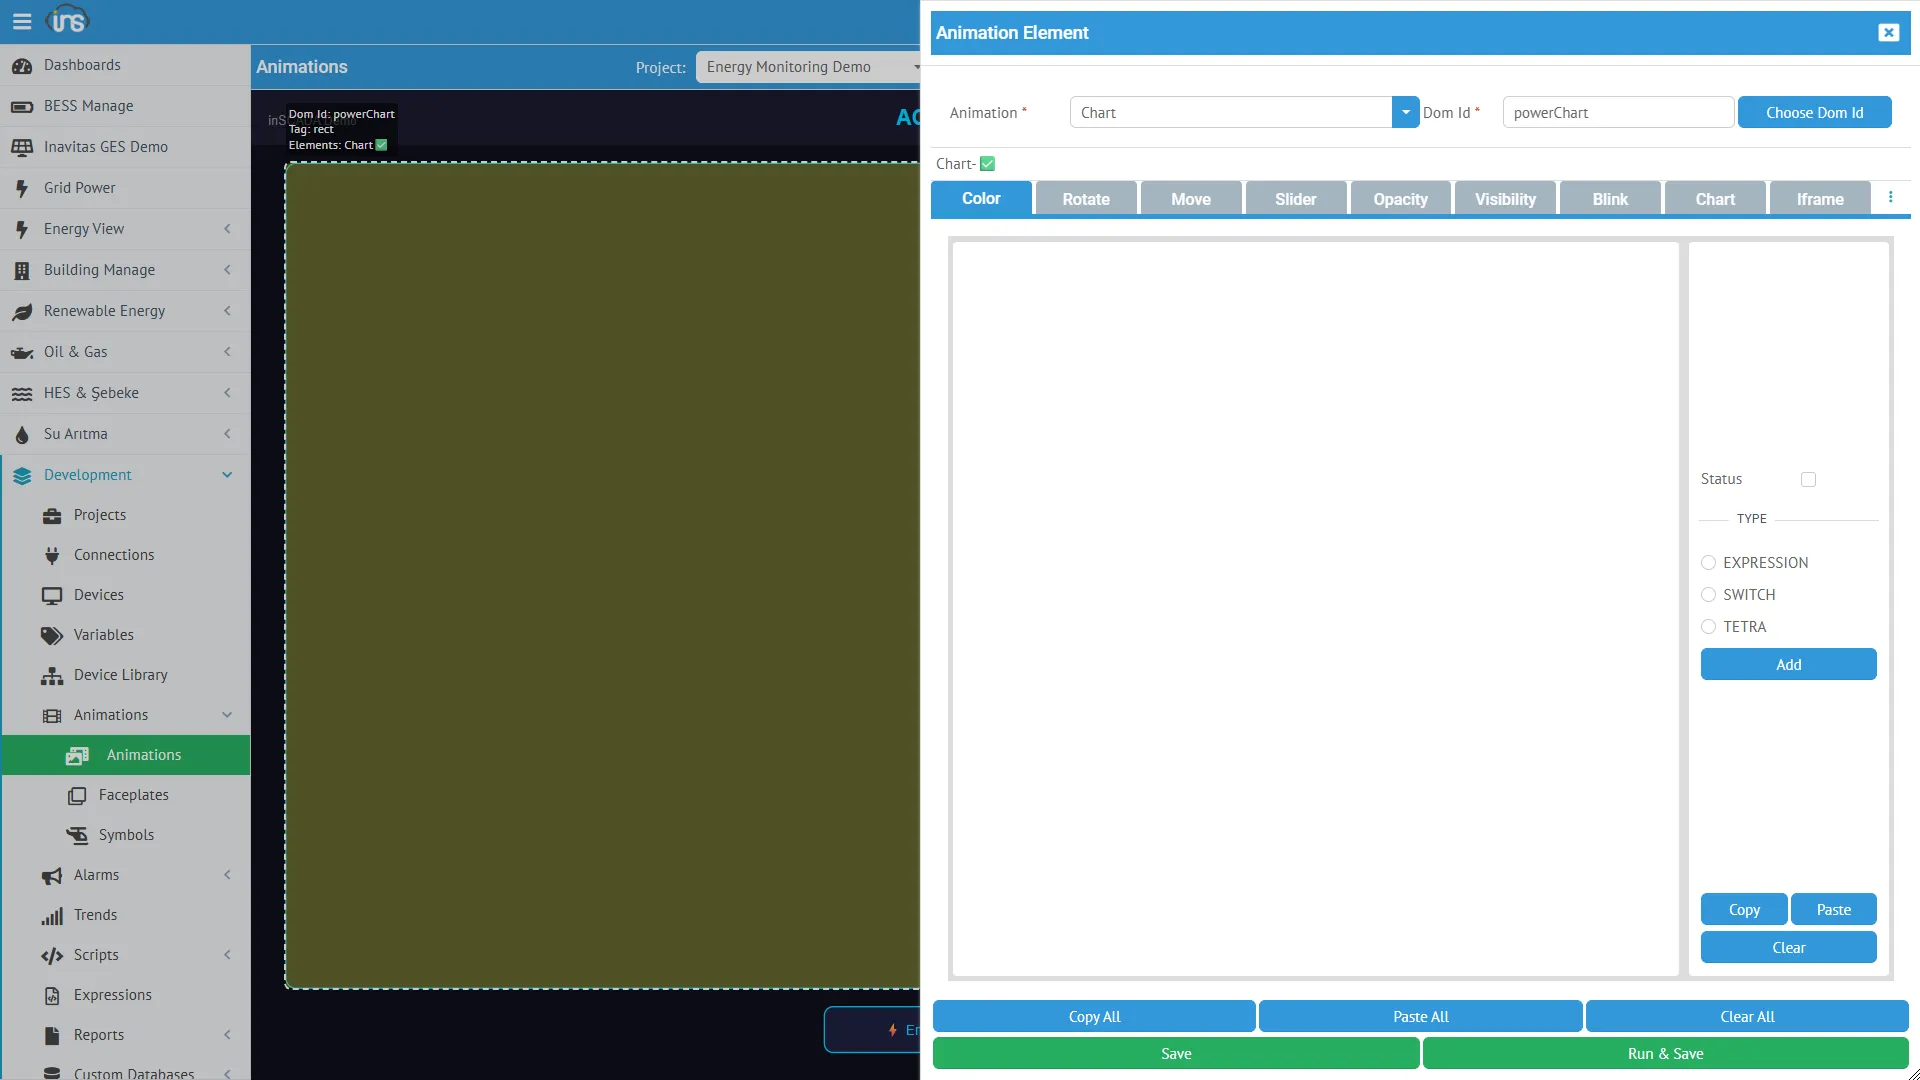
3. Animation Binding (Element Editor)
Section titled “3. Animation Binding (Element Editor)”After the SVG is uploaded, you bind animation behaviors to each object by clicking on objects with the mouse on the screen:
- Click on an object on the SVG with the mouse — the object is selected and highlighted
- Click the Element Editor (magic wand icon) button in the upper right
- The applicable animation types are automatically listed based on the selected object’s type
- Select and configure the desired animation type
- Save to save
After these three steps, the SVG screen updates with live SCADA data when you run it in the Visualization screen.
Detailed information: Element Editor →
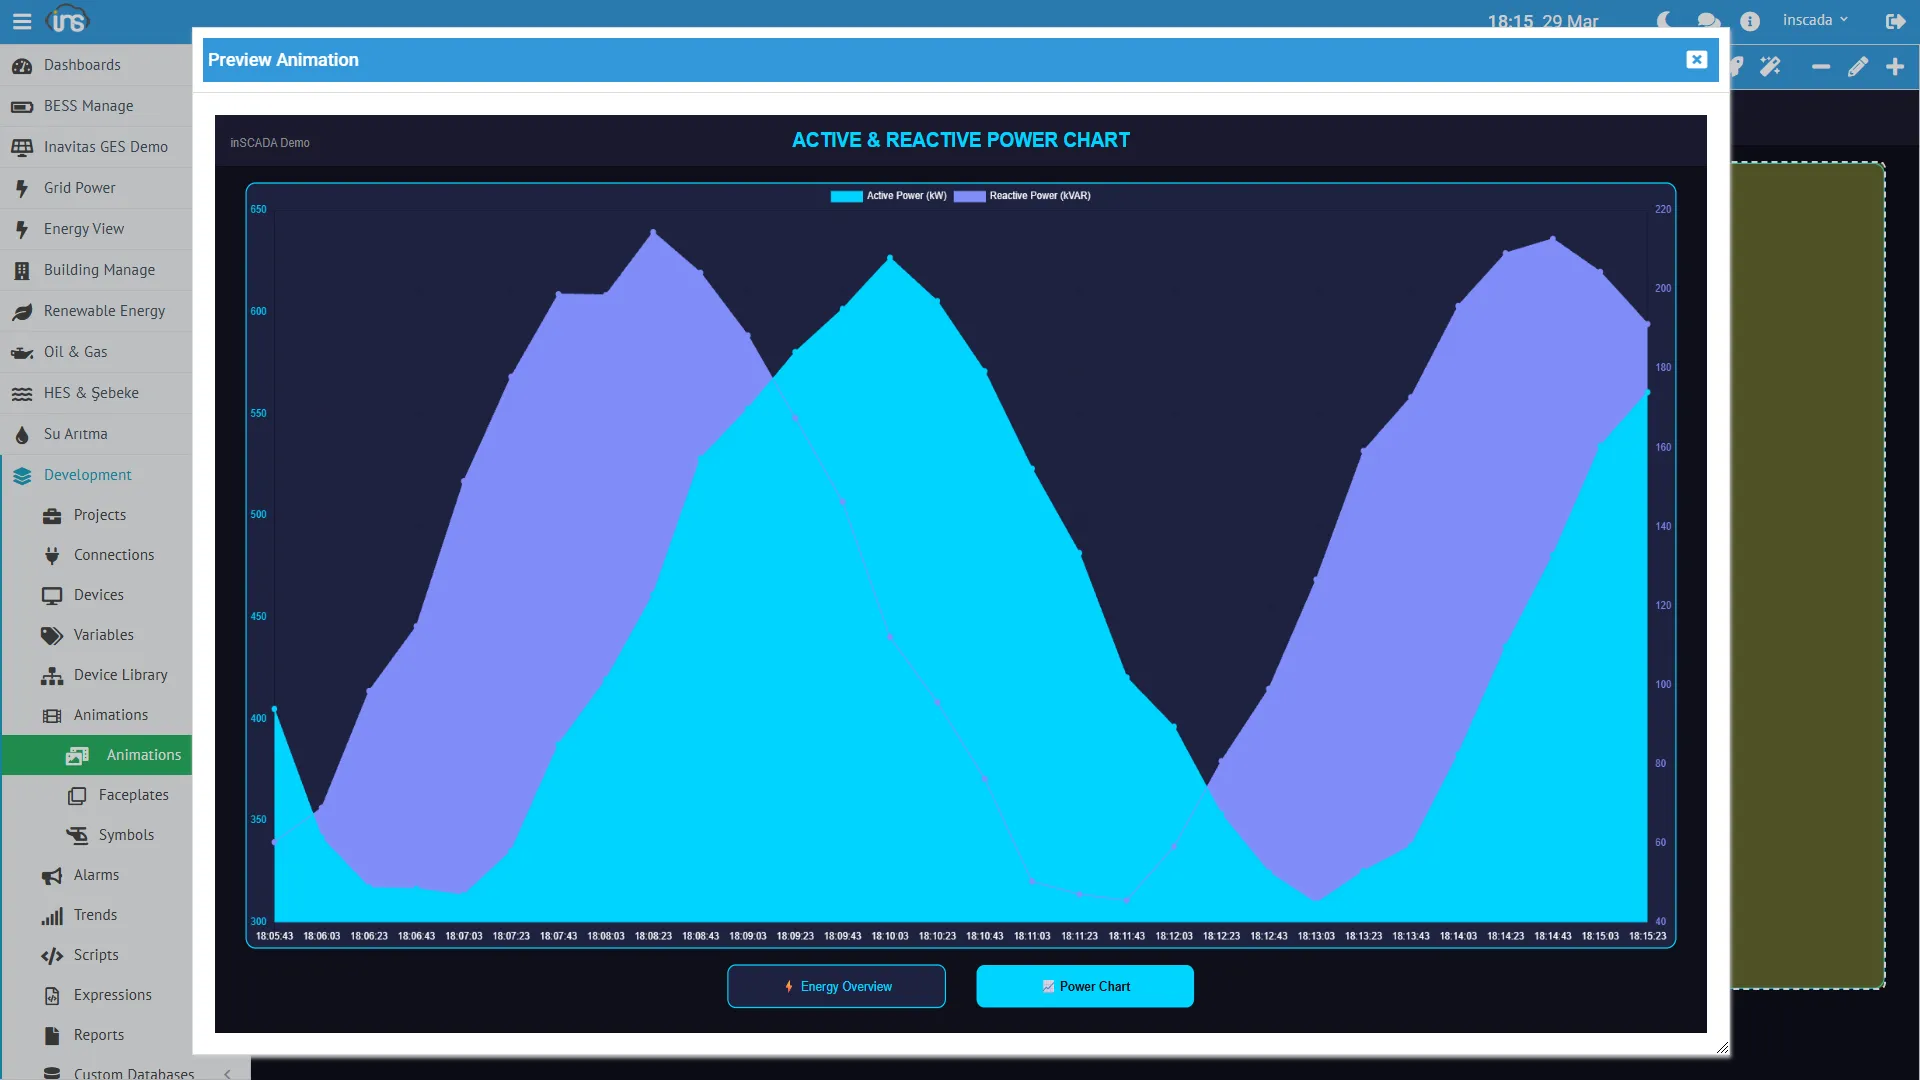
Preview
Section titled “Preview”You can preview the animation live by clicking the rocket icon:
Animation Configuration
Section titled “Animation Configuration”You can edit the animation’s settings by clicking the pencil icon — Duration, Play Order, Main, Color, Alignment, access roles, and Pre/Post scripts:
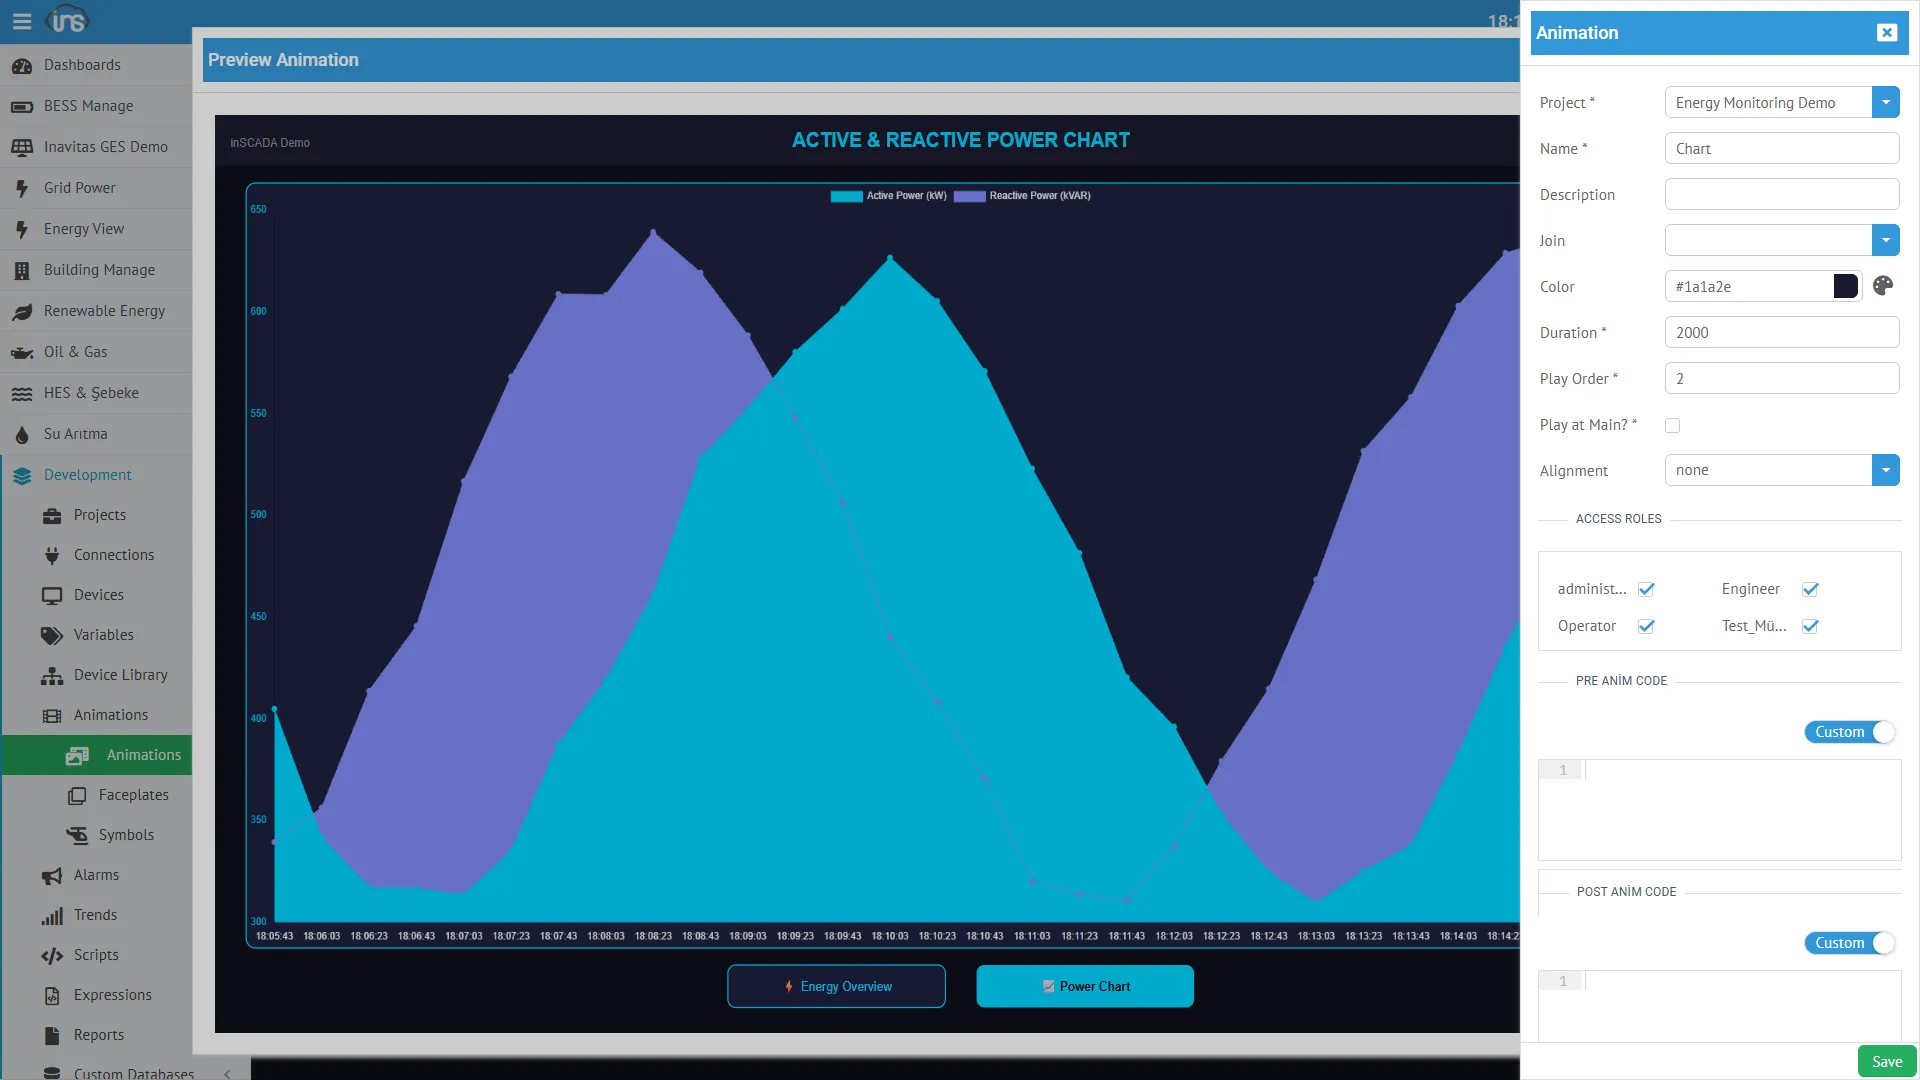
Detailed information: Animation Configuration →
Animation Structure
Section titled “Animation Structure”Each animation consists of three components:
Animation├── SVG Content (the uploaded SVG file)├── Animation Elements (behaviors bound to objects selected with the mouse)│ ├── Element 1: temperature text → Temperature_C (Get)│ ├── Element 2: motor indicator → MotorStatus (Color)│ └── Element 3: valve group → ValvePosition (Rotate)└── Animation Scripts (code that runs every scan cycle) ├── Pre-Animation Code └── Post-Animation CodeAnimation Elements
Section titled “Animation Elements”An Animation Element is a behavior definition bound to an object selected with the mouse on the SVG. When you click on an object and open the Element Editor, the following fields are automatically filled or configured:
| Field | Description |
|---|---|
| DOM ID | The ID of the selected SVG object (automatically retrieved — no need to enter manually) |
| Type | Animation type — appropriate types are automatically listed based on the object type |
| Expression Type | How the value is calculated (Tag, Expression, Switch, etc.) |
| Expression | Value expression (variable name, formula, or configuration) |
| Props | Type-specific additional settings (each type presents its own visual form) |
| Status | Active/inactive |
Animation Types
Section titled “Animation Types”inSCADA supports 36 different animation types:
Data Display
Section titled “Data Display”| Type | Description | Page |
|---|---|---|
| Get | Display variable value as text | Details → |
| Color | Change element color based on value | Details → |
| Bar | Bar height/width based on value | Details → |
| Opacity | Opacity based on value | Details → |
| Visibility | Show/hide based on condition | Details → |
| Rotate | Rotation based on value | Details → |
| Move | X/Y translation based on value | Details → |
| Scale | Scaling based on value | Details → |
| Blink | Blinking based on condition | Details → |
| Pipe | Pipe/line flow animation | Details → |
| Tooltip | Hover information balloon | Details → |
| Image | Change image based on value | Details → |
| AlarmIndication | Display alarm status | Details → |
Charts & Data Tables
Section titled “Charts & Data Tables”| Type | Description | Page |
|---|---|---|
| Chart | Chart component | Details → |
| Peity | Inline sparkline mini chart | Details → |
| Datatable | Table component | Details → |
Control & Interaction
Section titled “Control & Interaction”| Type | Description | Page |
|---|---|---|
| Set | Write value to variable (on click) | Details → |
| Slider | Adjust value with slider | Details → |
| Input | Text/number input | Details → |
| Button | Button component | Details → |
| Click | Click event | Details → |
| MouseDown / MouseUp / MouseOver | Mouse events | Details → |
Navigation & Embedding
Section titled “Navigation & Embedding”| Type | Description | Page |
|---|---|---|
| Open | Navigate to another animation | Details → |
| Iframe | Embed external URL | Details → |
| Menu | Open menu | Details → |
| Faceplate | Place faceplate component | Details → |
Script & Advanced
Section titled “Script & Advanced”| Type | Description | Page |
|---|---|---|
| Script | Run custom JavaScript | Details → |
| FormScript | Form-based script | Details → |
| GetSymbol | Load symbol from Symbol library | Details → |
| Animate | Trigger CSS/SVG animation | Details → |
| Access | Permission-based visibility | Details → |
| Three | 3D visualization | Details → |
| QRCodeGeneration | QR code generation | Details → |
| QRCodeScan | QR code scanning | Details → |
Expression Types
Section titled “Expression Types”Determines how the value is calculated in each animation element:
| Type | Description |
|---|---|
| Tag | Direct variable name reference |
| Expression | JavaScript formula |
| Numeric | Constant numeric value |
| Text | Constant text value |
| Switch | Conditional selection based on value |
| Collection | Multiple variable collection |
| Set | Value write expression |
| Animation | Another animation reference |
| Url | URL reference |
| Alarm | Alarm status reference |
| Faceplate | Faceplate reference |
| Animation Popup | Open popup animation |
| Button | Button configuration |
| InSCADA View | Platform view reference |
| System Page | System page reference |
| Html | HTML content |
| Custom Menu | Custom menu reference |
| Tetra Color | Four-color status display (alarm colors) |
Animation Scripts and Scan Cycle
Section titled “Animation Scripts and Scan Cycle”Pre and Post scripts can be attached to each animation. All code runs again every scan cycle:
Each cycle: Pre-Animation → Elements → Post-Animation → wait (duration ms) → repeatFor code that should run only once on first load, the __firstScan variable is used:
if (__firstScan) {    // Runs only in the first cycle    var logs = ins.getLoggedVariableValuesByPage(        ['ActivePower_kW'],        ins.getDate(ins.now().getTime() - 3600000),        ins.now(), 0, 100    );}
// Runs every cyclevar power = ins.getVariableValue("ActivePower_kW").value;return power.toFixed(1);
Detailed information: Animation Configuration → Pre/Post Scripts